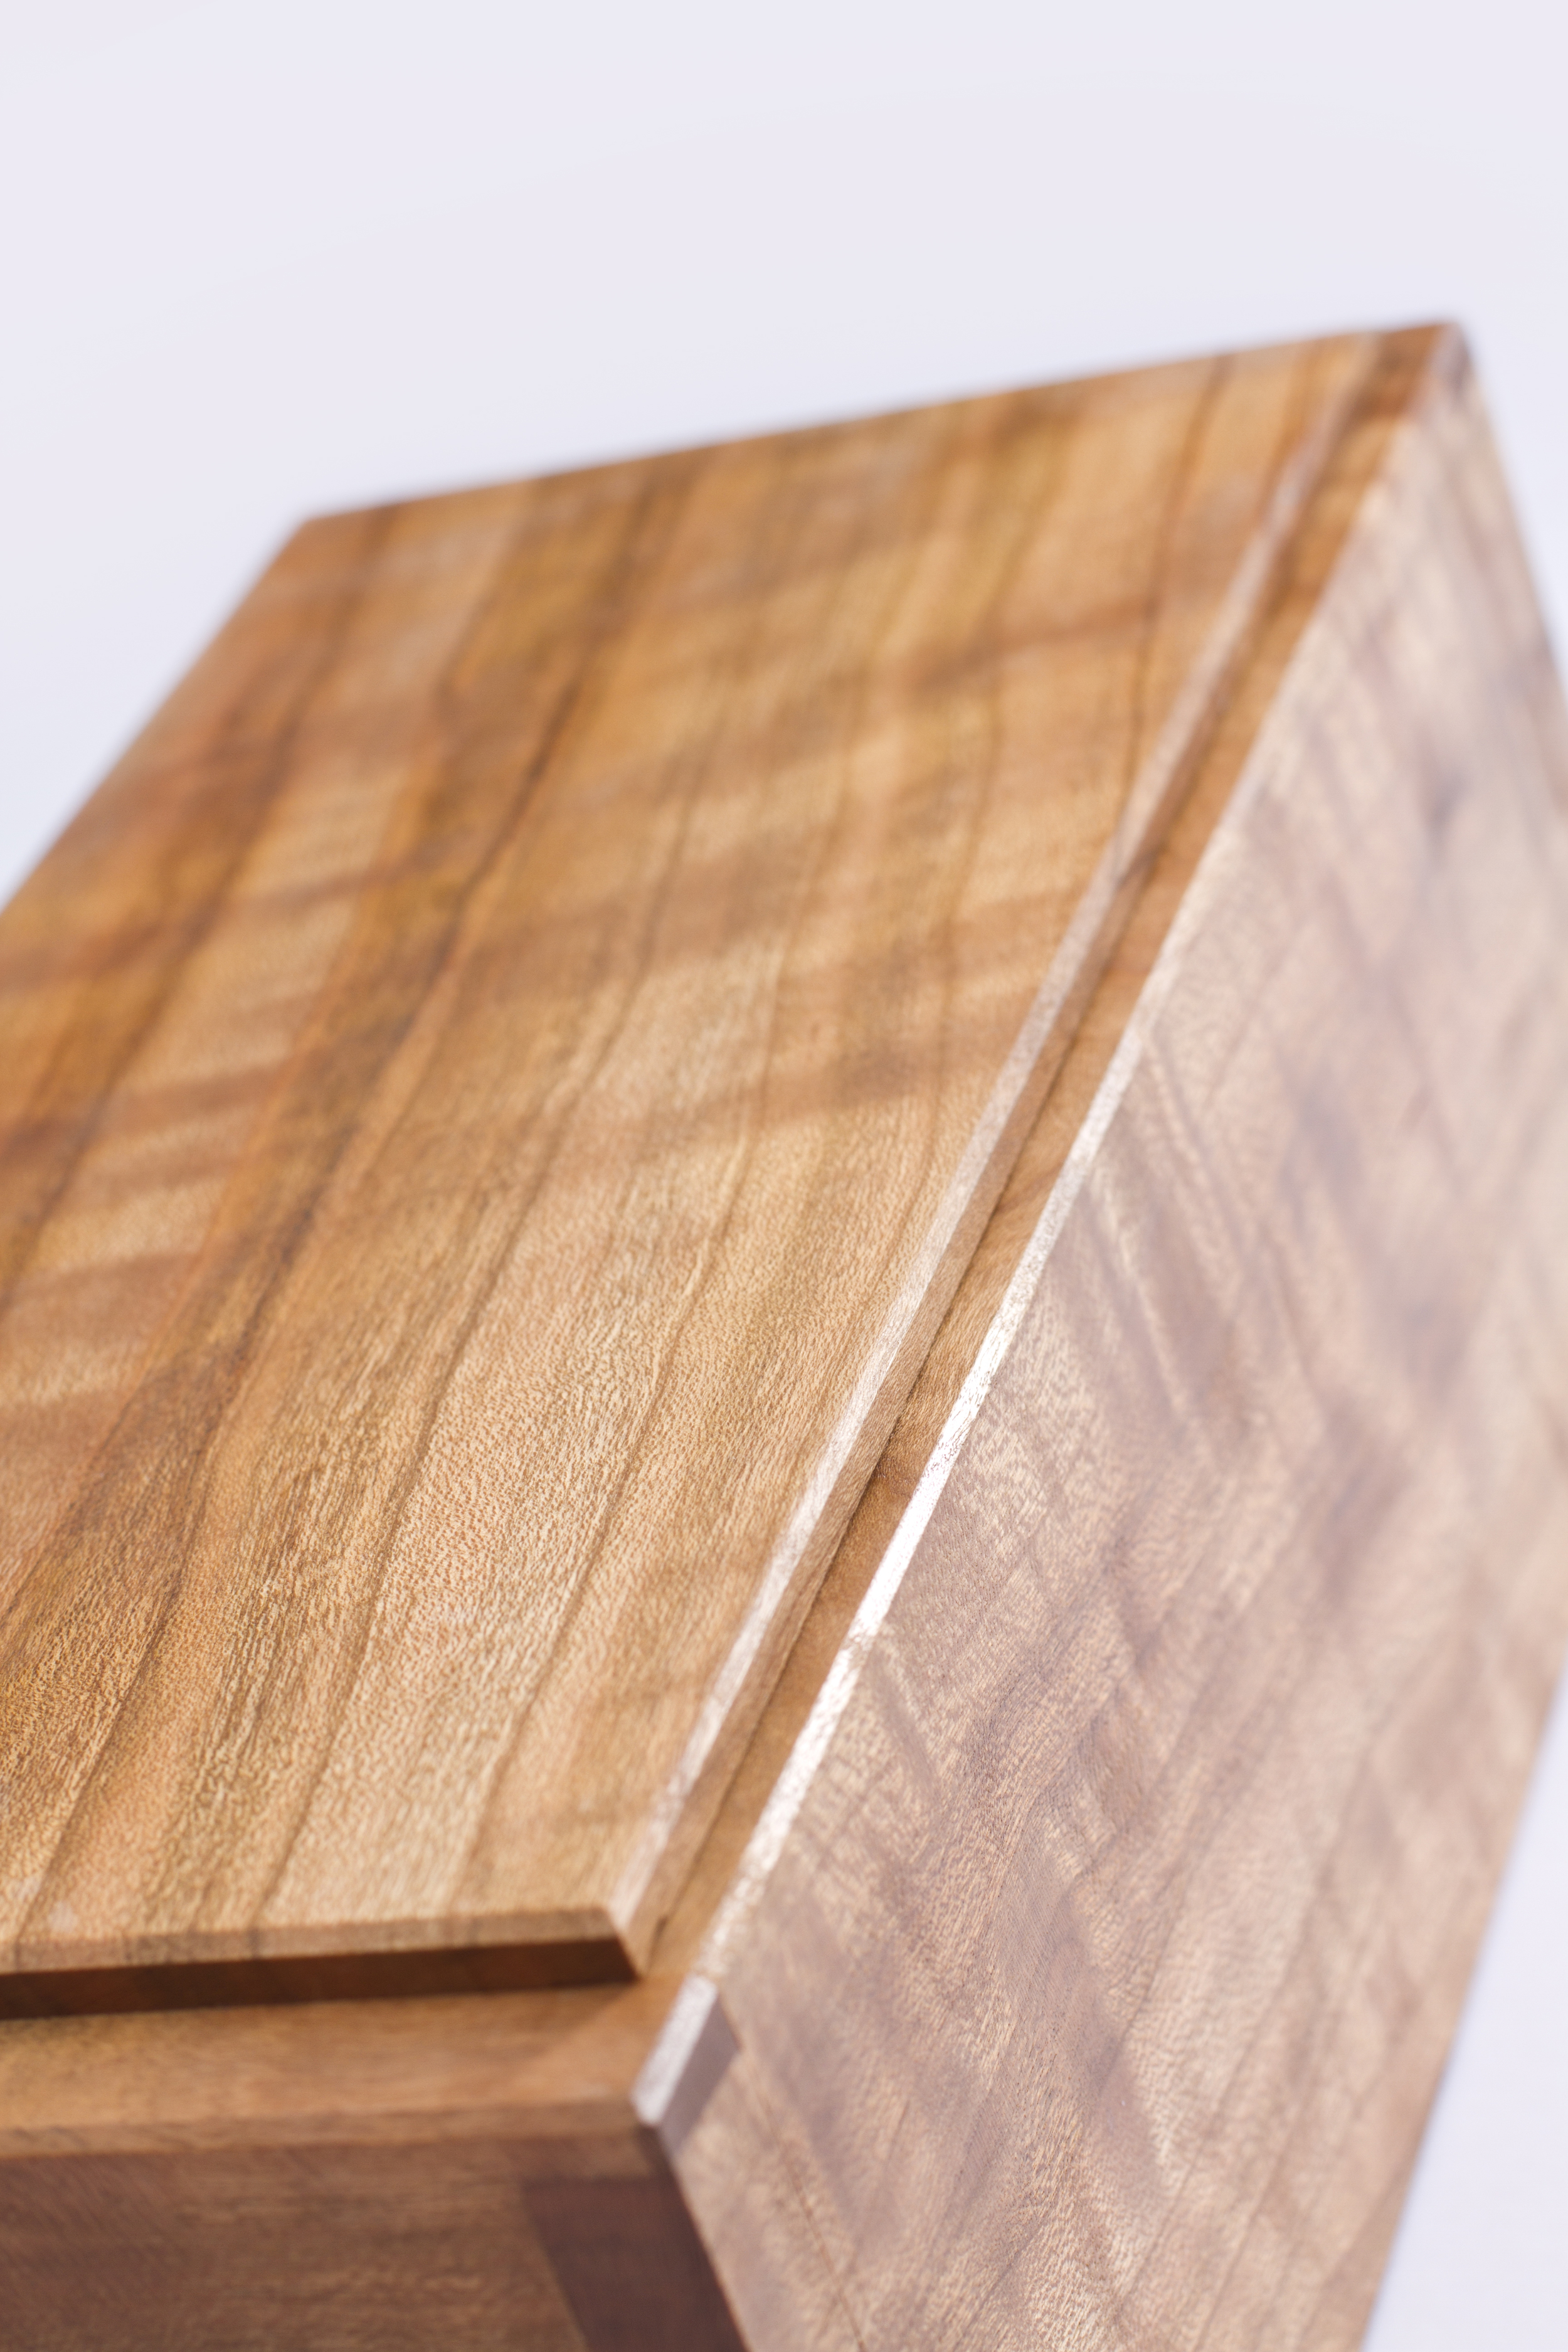
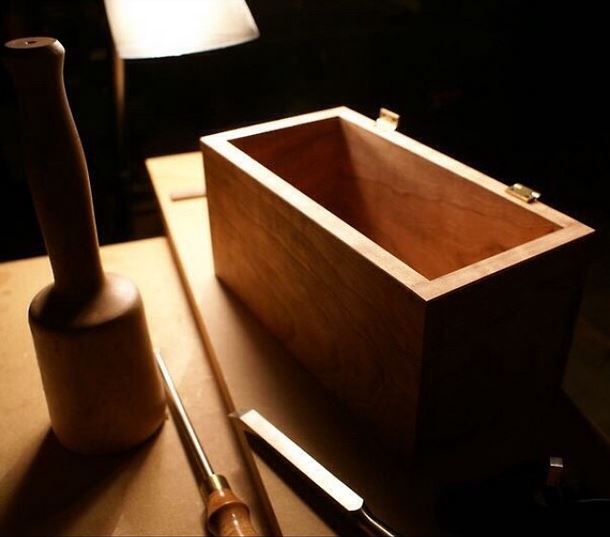
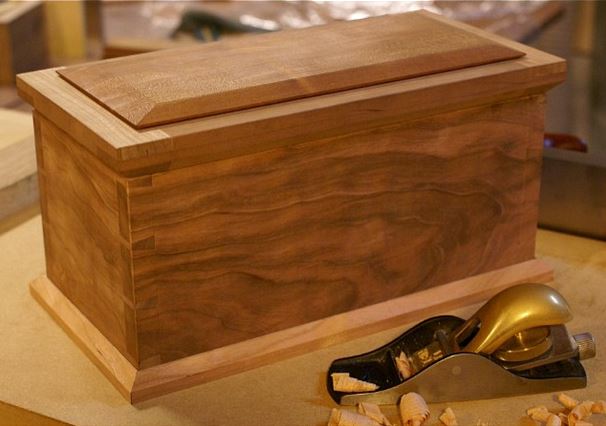
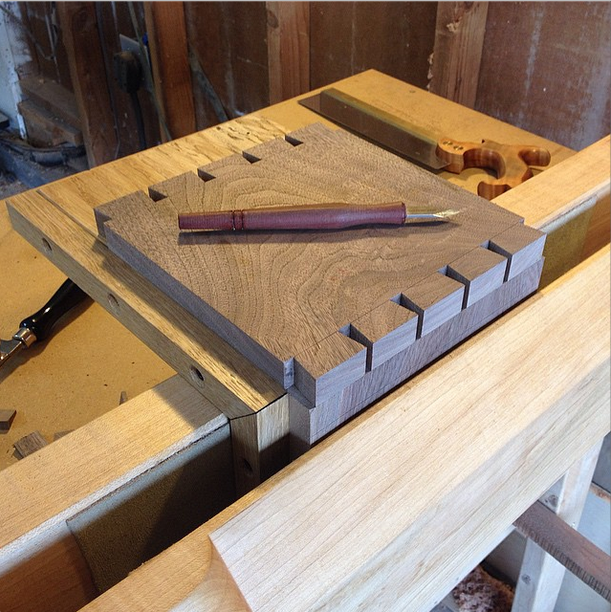
I'll be teaching a class on making this dovetailed box at the end of July. This is the simplest box & lid design I could come up with that could be taught in two days. The wood is some nice curly cherry. There's a floating panel for the bottom. Finish is padded shellac on this one. Will hopefully have time to go over French polishing in the class.
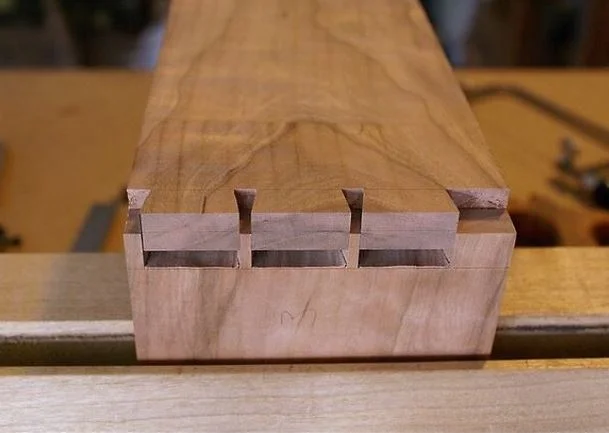
Below is a photo of the original tail/pin ratio but I re-cut them as I didn't want the piece to look too complicated for a beginner.