
My fiancée and I just bought a house. I’ve been setting up my new shop here and catching up with commissioned work. I have about 500ft.² inside and 600ft.² outside. Inside I’m building a handtool workshop where the bulk of my work will be done. So far I’ve ripped out all of the old stuff from the previous owners, made necessary repairs (took a lot longer than I thought), and put in a new floor & paint. Up next I’m putting in 6” tall baseboards with a nice traditional molding. The garage is for wood storage, power tools, and a big veneer press I’m building. I’ve mostly been working in there while I get the handtool shop ready. It’s been busy!
All of that said, here is one of the things I’ve been working on outside of commissioned work. This is a bird & butterfly from one of my favorite Boulle panels. It is in the Louis XIV style and on display at The Getty. It was made sometime between 1675-1680CE. I am using the traditional French process for making and assembling marquetry as well as using a Chevalet de Marqueterie as my cutting tool. I am using the Boulle method for cutting this piece. There is a lot more to this process than I wrote about and I hope that I can make some videos in the future showing some of it.
This is the marquetry panel from the famous Boulle coffer at The Getty. I have admired this panel for years. This is Pierre Ramond's tracing which can be found in his latest book on Boulle. Next to it I have my second redrawing of the panel along with my simplified version of the bird & butterfly.
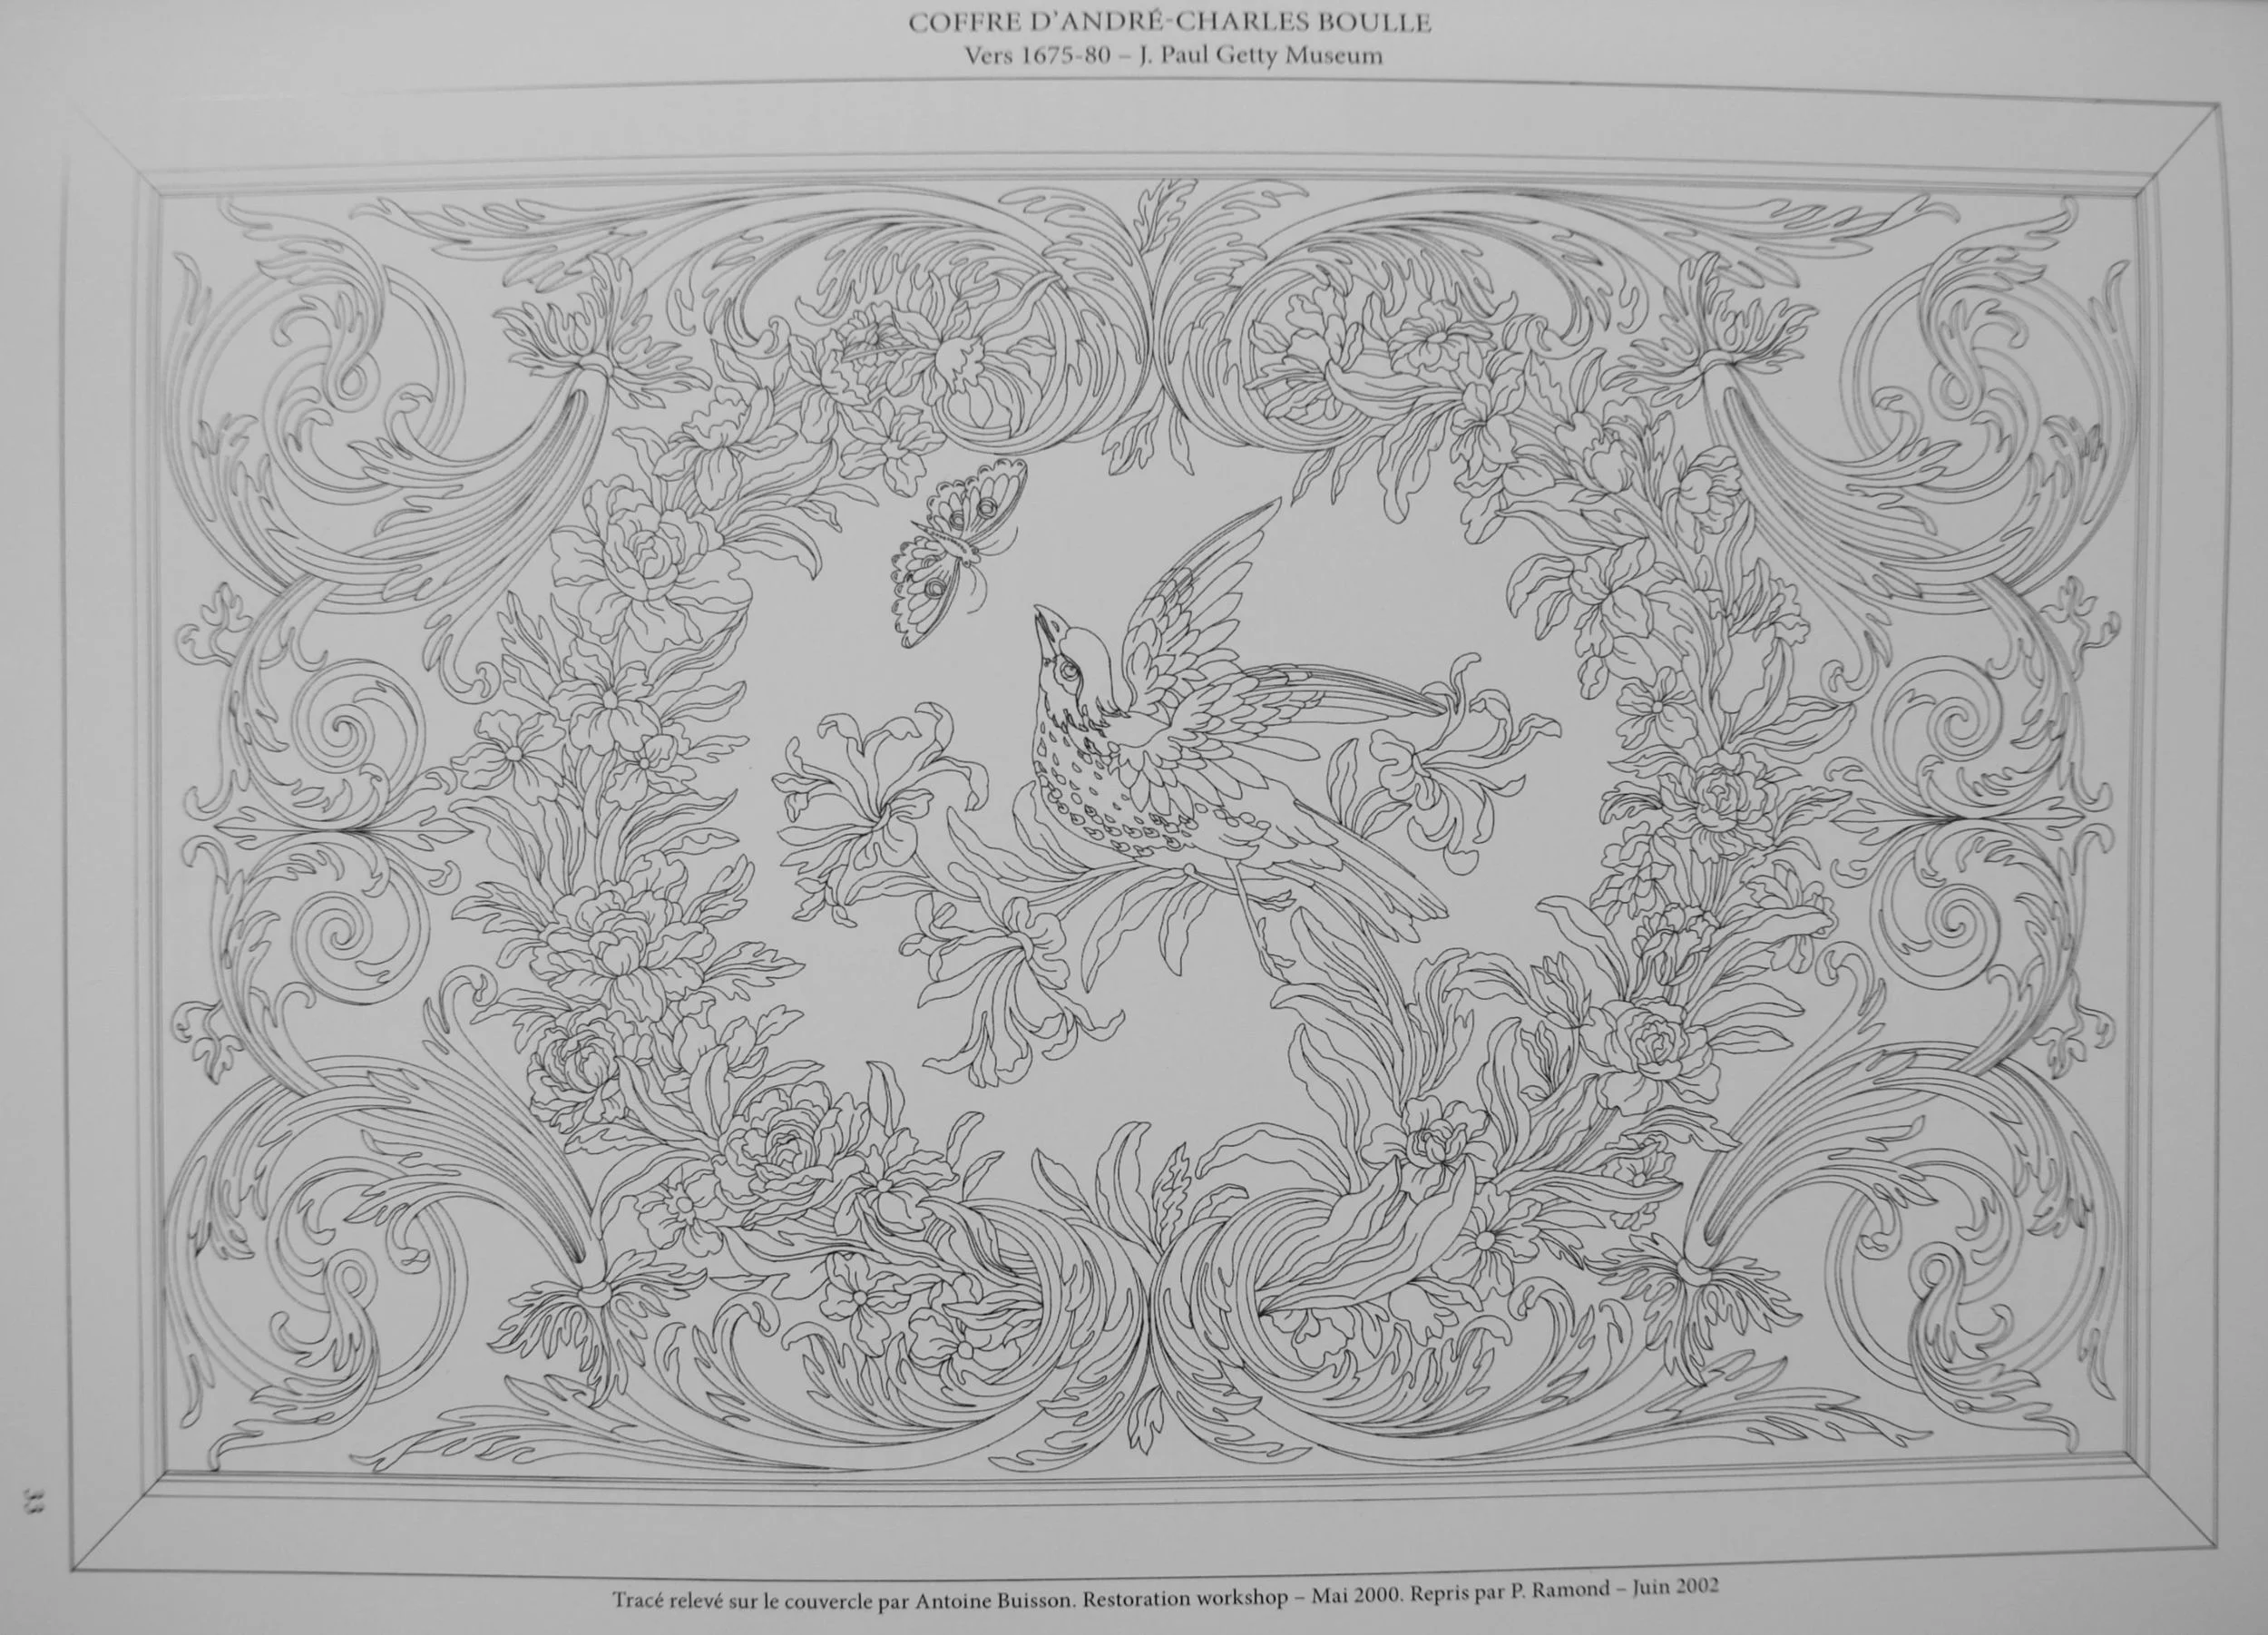


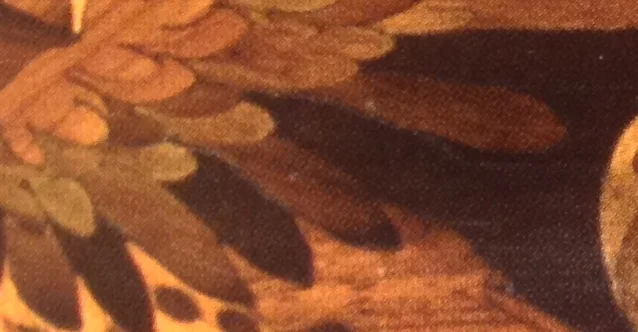
After staring at this piece for so many years, and now having drawn and redrawn it multiple times, I noticed a mistake in Pierre's tracing. Here you can see the mastic outlining an ebony feather that got lost in the ebony fond (background). If you look at the top wing you notice there are no missing feathers. Pierre has drawn in the ebony feather on the top wing in his tracing. I added the feathers in and to my eyes the bird's wing now looks correct. I simplified the bird a bit as well.


This is the Chevalet de Marqueterie. It is a mid 18th century French cutting tool. Here I am performing the keyhole test and tuning the Chevalet up.The blade must cut perpendicular to the packet held in the vise chops. The tool allows for an x and y axis adjustment to dial it in perfectly.


Grease paper is an important part of your marquetry tool kit. The paper can be placed inside a packet of veneers to lubricate the blade while cutting. This increases the ease and quality of cutting. Whether you are using a chevalet, scroll saw, or fret saw, it is a great addition to any packet.
Here is how I learned to make grease paper at The American School of French Marquetry:
Take a large piece of newsprint and fold it in half. Use the crease as a guideline to slice the paper in half. Fold that piece in half again.
Open the paper up. Using rendered suet (preferred), tallow, or lard, brush a thin layer onto the newsprint. Only brush on one side of the paper. I also like to do a brushstroke right down the middle of the crease to make sure it's saturated nicely, but don't continue brushing onto the other side.
Fold in half. Use a scrubbing brush to work out any wrinkles or air bubbles. Place inside an airtight bag and store in the freezer or fridge until ready to use. Before use take the paper out and let it come up to room temperature.
Here's a video link to see that process in action.
Here I'm sawing 1.6mm Rosewood veneer with the Gramercy veneer saw. This is how I break the veneer stock down to size. Here is a link to the video of the saw in action.
I chose to make 5 copies. This does two things. First, it allows me to build each bird with 5 different colored veneers. Second, it allows me to cut 5 copies at once. Here I have 1.6mm thick Sapele, Rosewood, Curly Maple, Cherry, and Walnut. I did not paper back my veneers, but if I could go back in time I would. Next to that I have the properly assembled packet. This prep work takes longer than the cutting. From bottom up the packet consists of: 3mm back board, grease paper, 5 veneers, 1.5mm top board. There are strict guidelines for doing this properly! I will probably make a video at some point showing the process. You do not want a loose, flimsy packet. It will be impossible to cut. There are three entry holes drilled in inconspicuous areas with a number 60 drill bit to insert the 2/0 Pebeco skip-tooth blade.


Cutting out the elements, here are some butterfly wings. The bottom left wing is the 3mm back board. This piece gets thrown away. In the next photos I have an eyeball, eyebrow, beak, and top of the head. Note how accurately the chevalet lets me cut these tiny pieces. The veneer is thicker than it is wide on some.


This is the goal for pulling the sandwich out of the packet after completing the cut. 50% of the time they explode all over the floor. I cut out the butterfly and head & body of the bird first. I planned to cut the wings last. It took about 7 hours of intense, focused cutting. It is very difficult to stay completely focused during the cut. If your mind wanders you go off the line.


All of the backgrounds cut out. The packet is opened very carefully, layer by layer, making sure no pieces are missing. Store all of your "trash" from the cutting in a garbage bin and don't throw anything away until you're done assembling. You don't want to throw out a piece you accidentally mixed up in the trash.


This is not a normal part of the French process for assembling marquetry, but I wanted to assemble one bird entirely to make sure everything looked good and I wasn't missing anything. Everything looked good so I moved on to organizing and assembling.


Once all the pieces are sorted you need to figure out how they will relate to each other. I made this color map that corresponds with the list in the next image. It's made in MS Paint, it's terrible, but it gets the job done. Making the color maps and getting the pieces properly organized took 8 hours. To me the birds look cartoonish at this point. I feel like they only really start to look good once they've been sand shaded.


Now I'm in the process of getting everything sand shaded. It only takes about an hour or so to shade each bird. So far I have about 34 hours into this project. Will update this once the pictures are assembled.
If you made it this far here's a bonus video of ebonizing the walnut background. I wanted the internal pieces to be natural so I ebonized the background now. The ebonizing solution is white vinegar soaked in steel wool for two weeks, then strained through 4 layers of cheesecloth. It's brushed on both sides and works instantly. Here's the video.