
A recent treatment I completed on a Mahogany American Empire Settee. It is also sometimes called a bustle bench or slipper sofa. It would sit at the foot of the bed and when a lady retired for the evening she would sit there to change clothes.


The foot in the bottom right photo had the worst damage. I replaced the broken casters with period correct Empire casters that matched the front two.


Pre-treatment. Each joint of the lower frame suffered from the same issues. The glue became dry and brittle over time, then when it was moved the joints came apart. Damage to the substrate, and old dried glue that needed to be removed for good adhesion, can also be seen. This treatment was consistent throughout the other three corners.
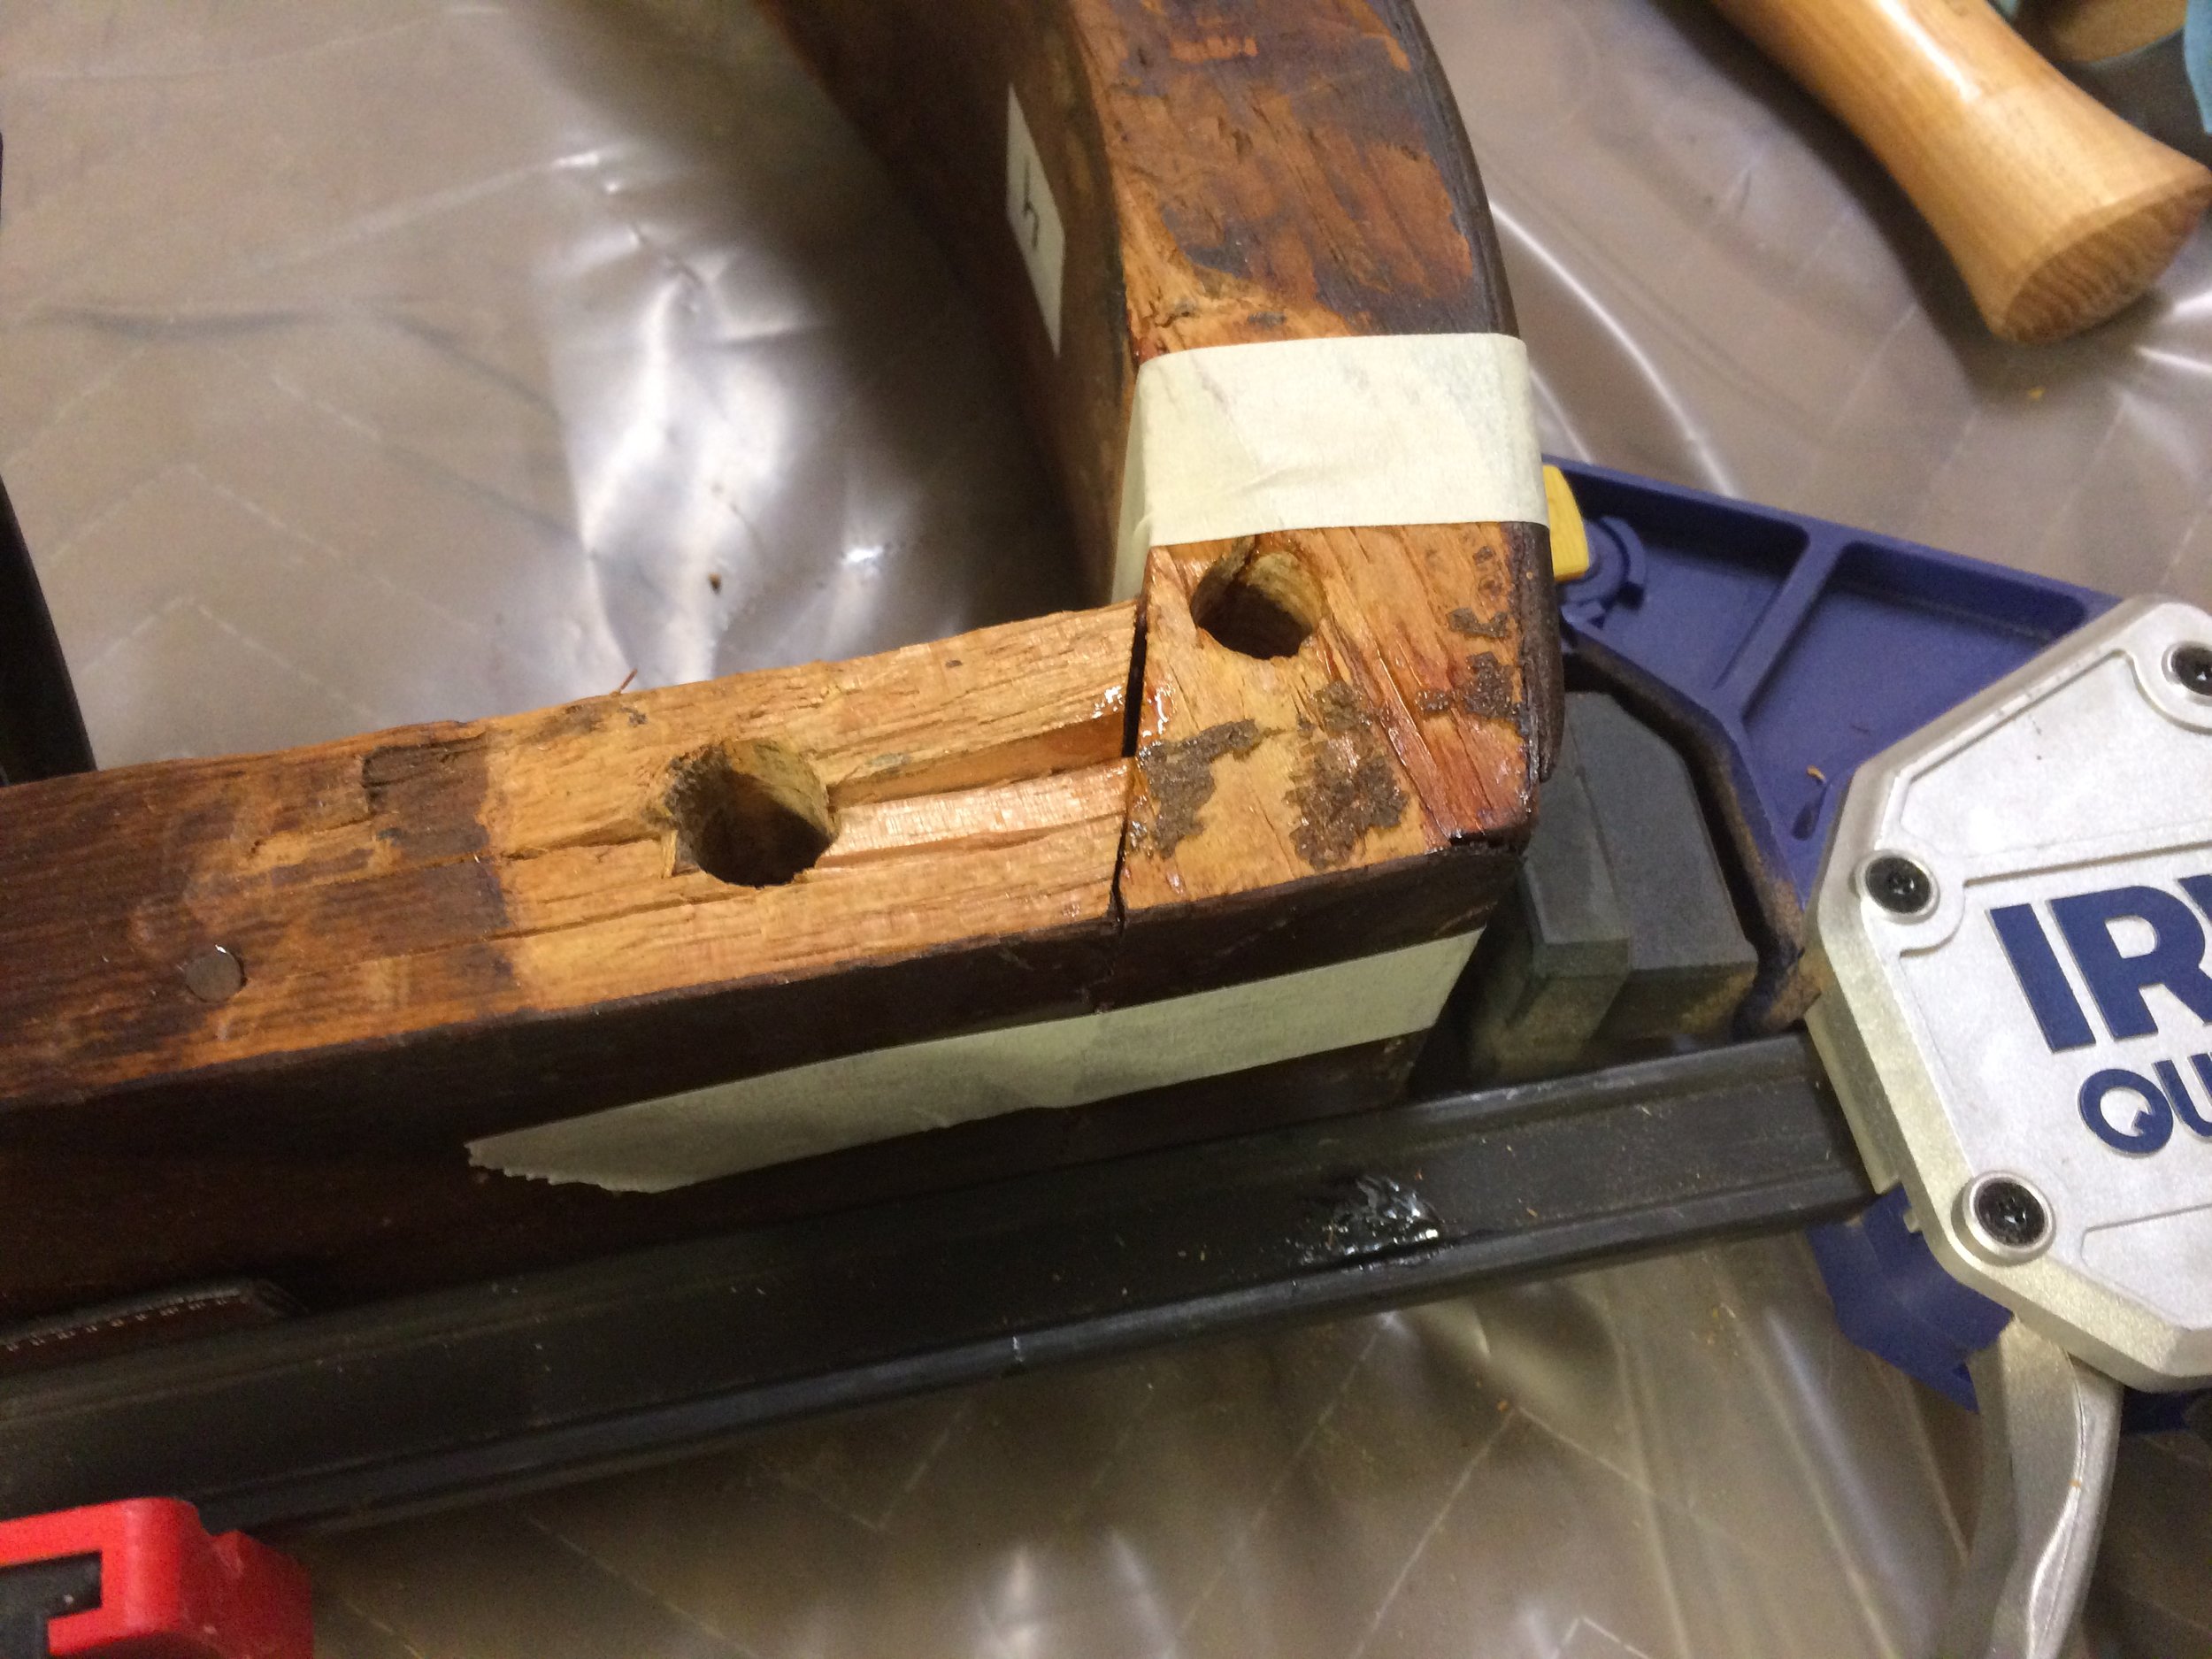

During treatment. The tape is used to hold down veneer repairs. You can also see the leather pads underneath the bar of the clamp that keep it from scratching the piece. Vector clamping is very useful and shown in the second photo. It allows you to clamp curved pieces or other oddly shaped pieces that would not normally allow pressure to be applied at 90° to the joint. If you are not familiar with vector clamping I suggest looking at William Patrick Edwards' blog. All joinery and veneer repairs were done with hot hide glue or Old Brown Glue.


During treatment. I have different sized cradles for making different types and sizes of glue blocks. Very useful and keeps the soft pine from shifting and being damaged while you shape it. This is air dried sugar pine which is appropriate for the period of the piece. The joint is glued with hot hide glue. It is initially rubbed into place and then clamped when possible.


Pre-treatment. Two out of the three screw heads were holding the caster to the mounting plate, which disguised the damage done to the stem and mounting plate. The stem had completely snapped off. These casters are not original to this piece and had been replaced during a previous repair. Furthermore, they do not match the front two casters, which are original.


During treatment. Unfortunately the stems of the casters were epoxied into the holes. I used a drill bit with a diameter smaller than that of the stems to drill through them. Then a slightly larger bit that matched the diameter of the stems was used to remove the remaining material. Next a slightly larger hole was drilled and mahogany plugs were glued in with hide glue. The last photo shows the color matched end grain plug on one of the feet. The wood is coated with a thin layer of hide glue and then West System epoxy is used to adhere the end grain to end grain joint. The real trick of this kind of repair is to get the plug to sit flush with the surrounding area without removing any material around the plug to flush it up. You have to rasp away material from the underside of the plug in different areas until it sits flush.
During treatment. There were upholstery tacks in random locations and in joinery throughout the settee. I removed those tacks but did not touch the tacks located in the rails that would have held the fabric originally. Normally I would have left the random tacks, but they were coming loose and the client has very young children who walk around the settee.


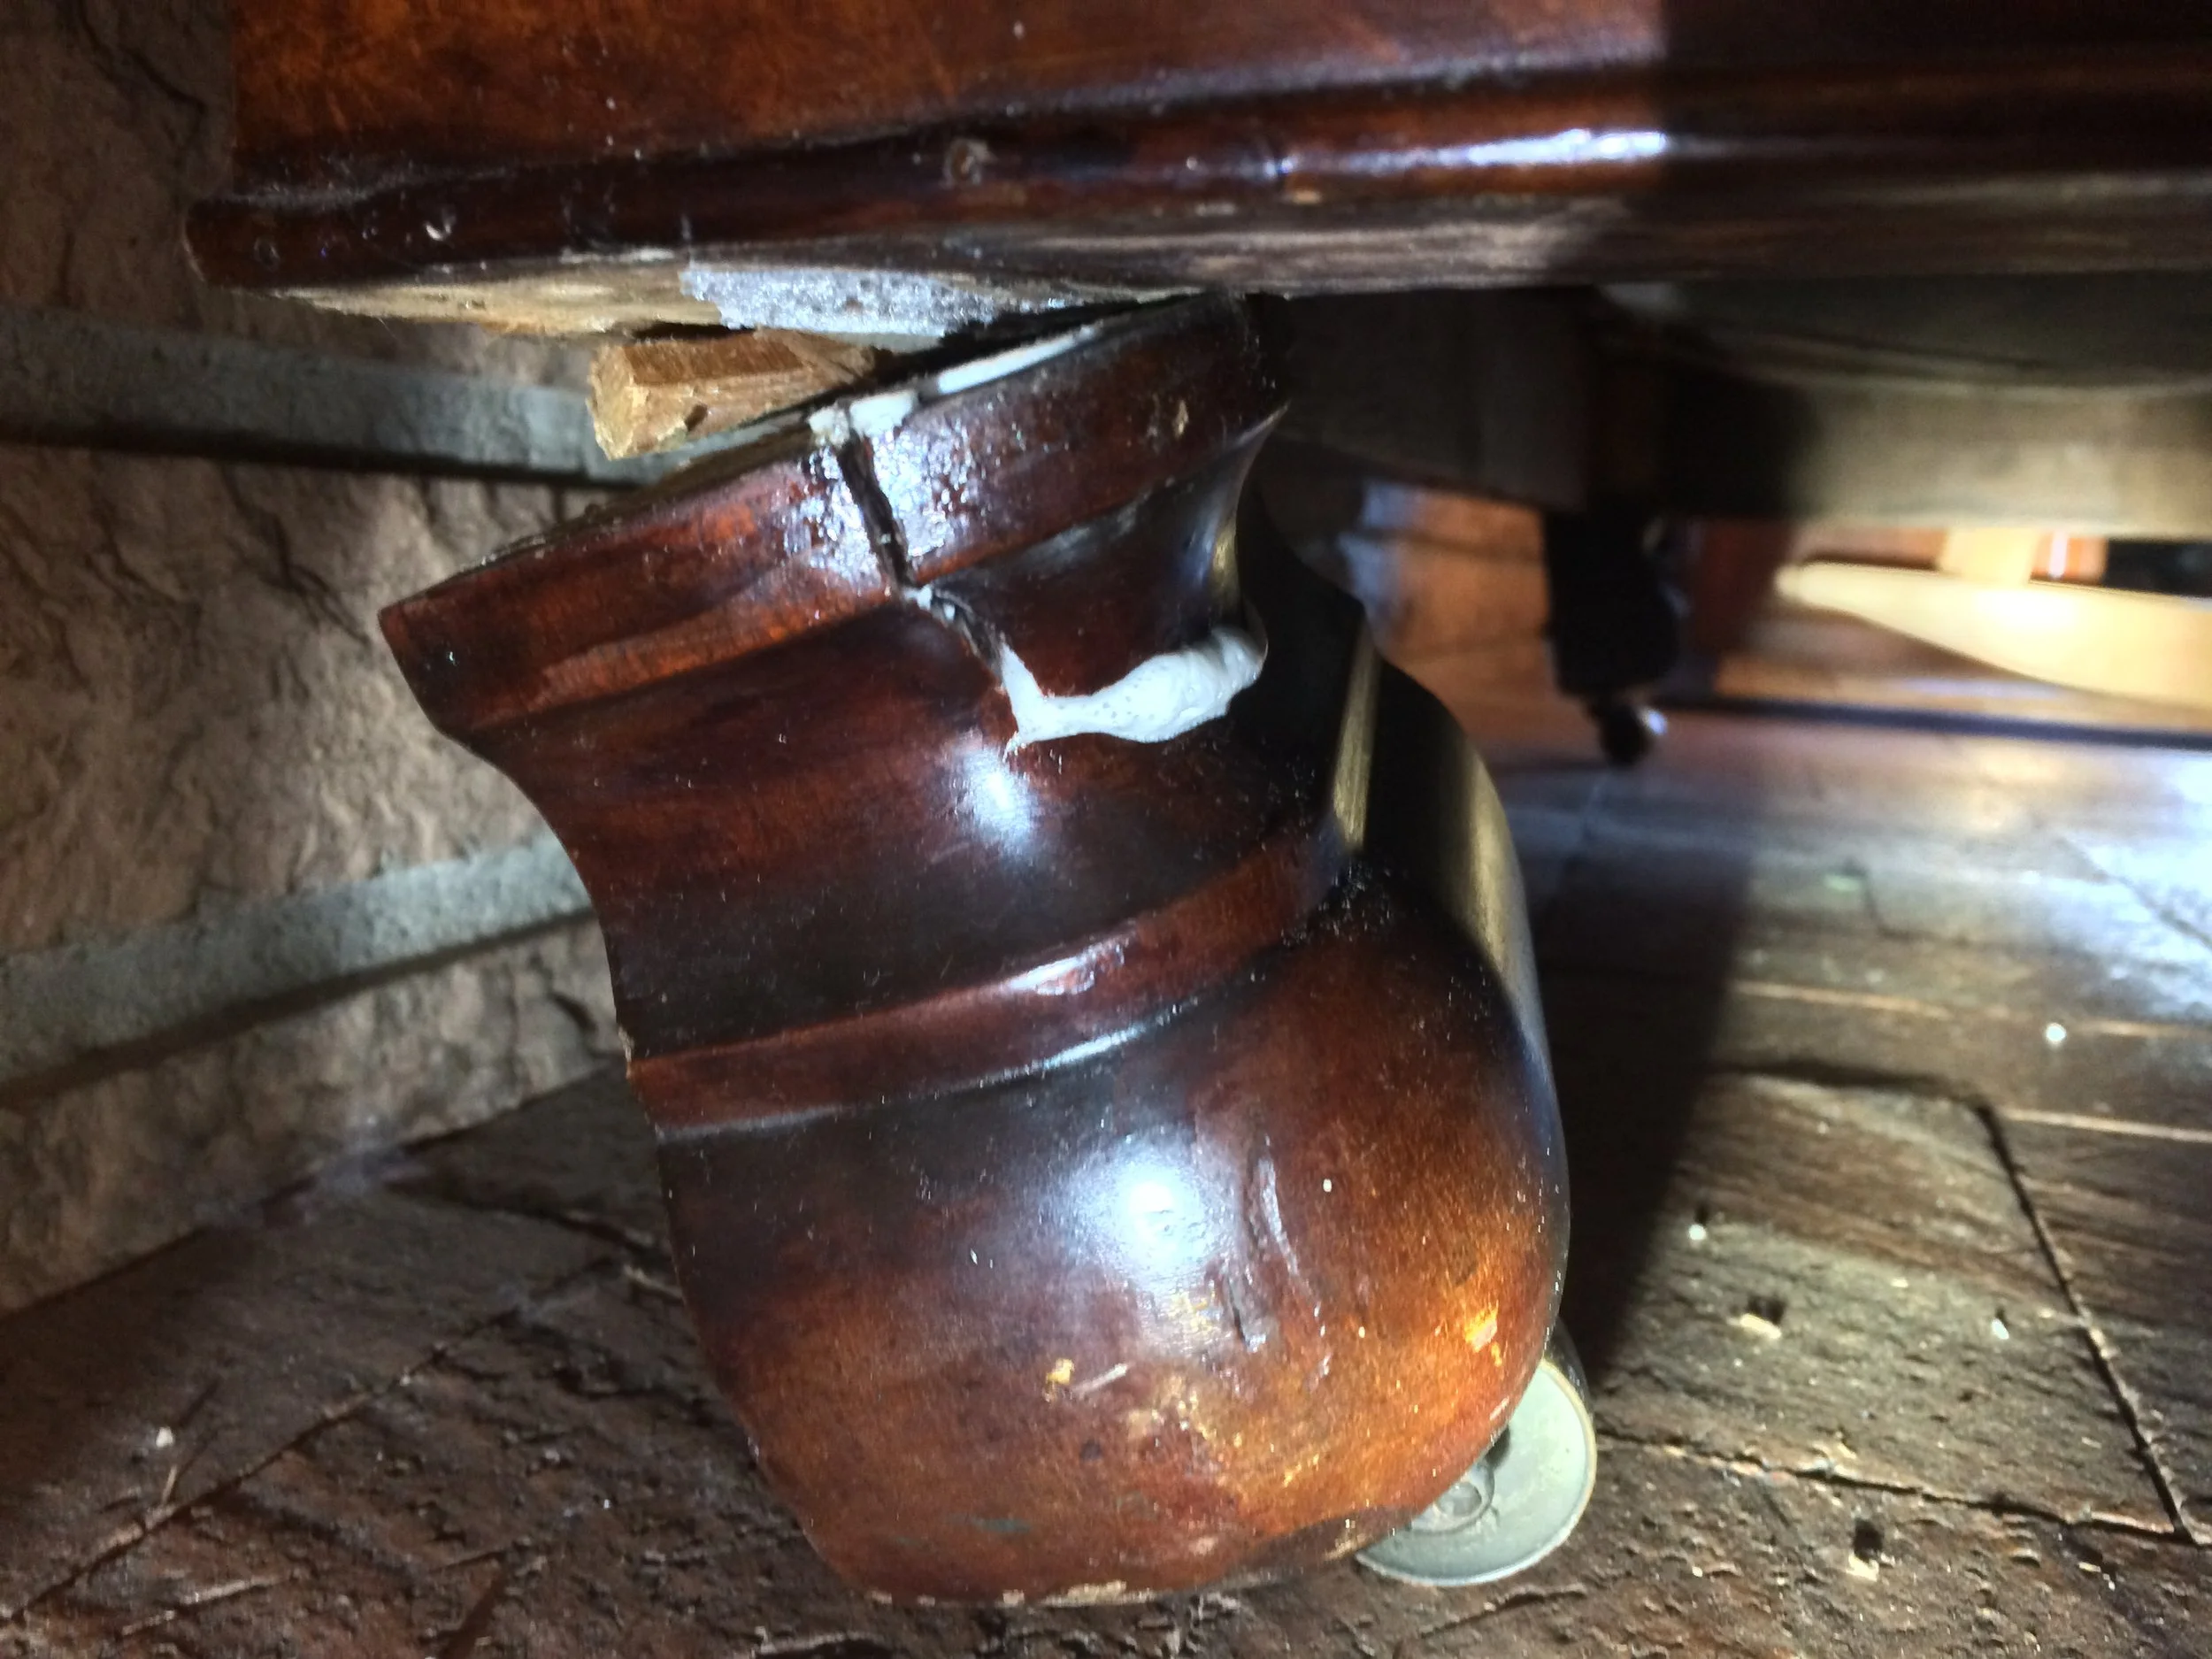
Pre-treatment. This was done by the moving company's furniture repair service. The gorilla glue is removed manually with different shop-made scrapers, tweezers, knives, and sometimes needle files. You can also see the pine ripped from the underside of the frame and attached to the tops of the feet. This is due to the joint having been reglued with PVA glue.


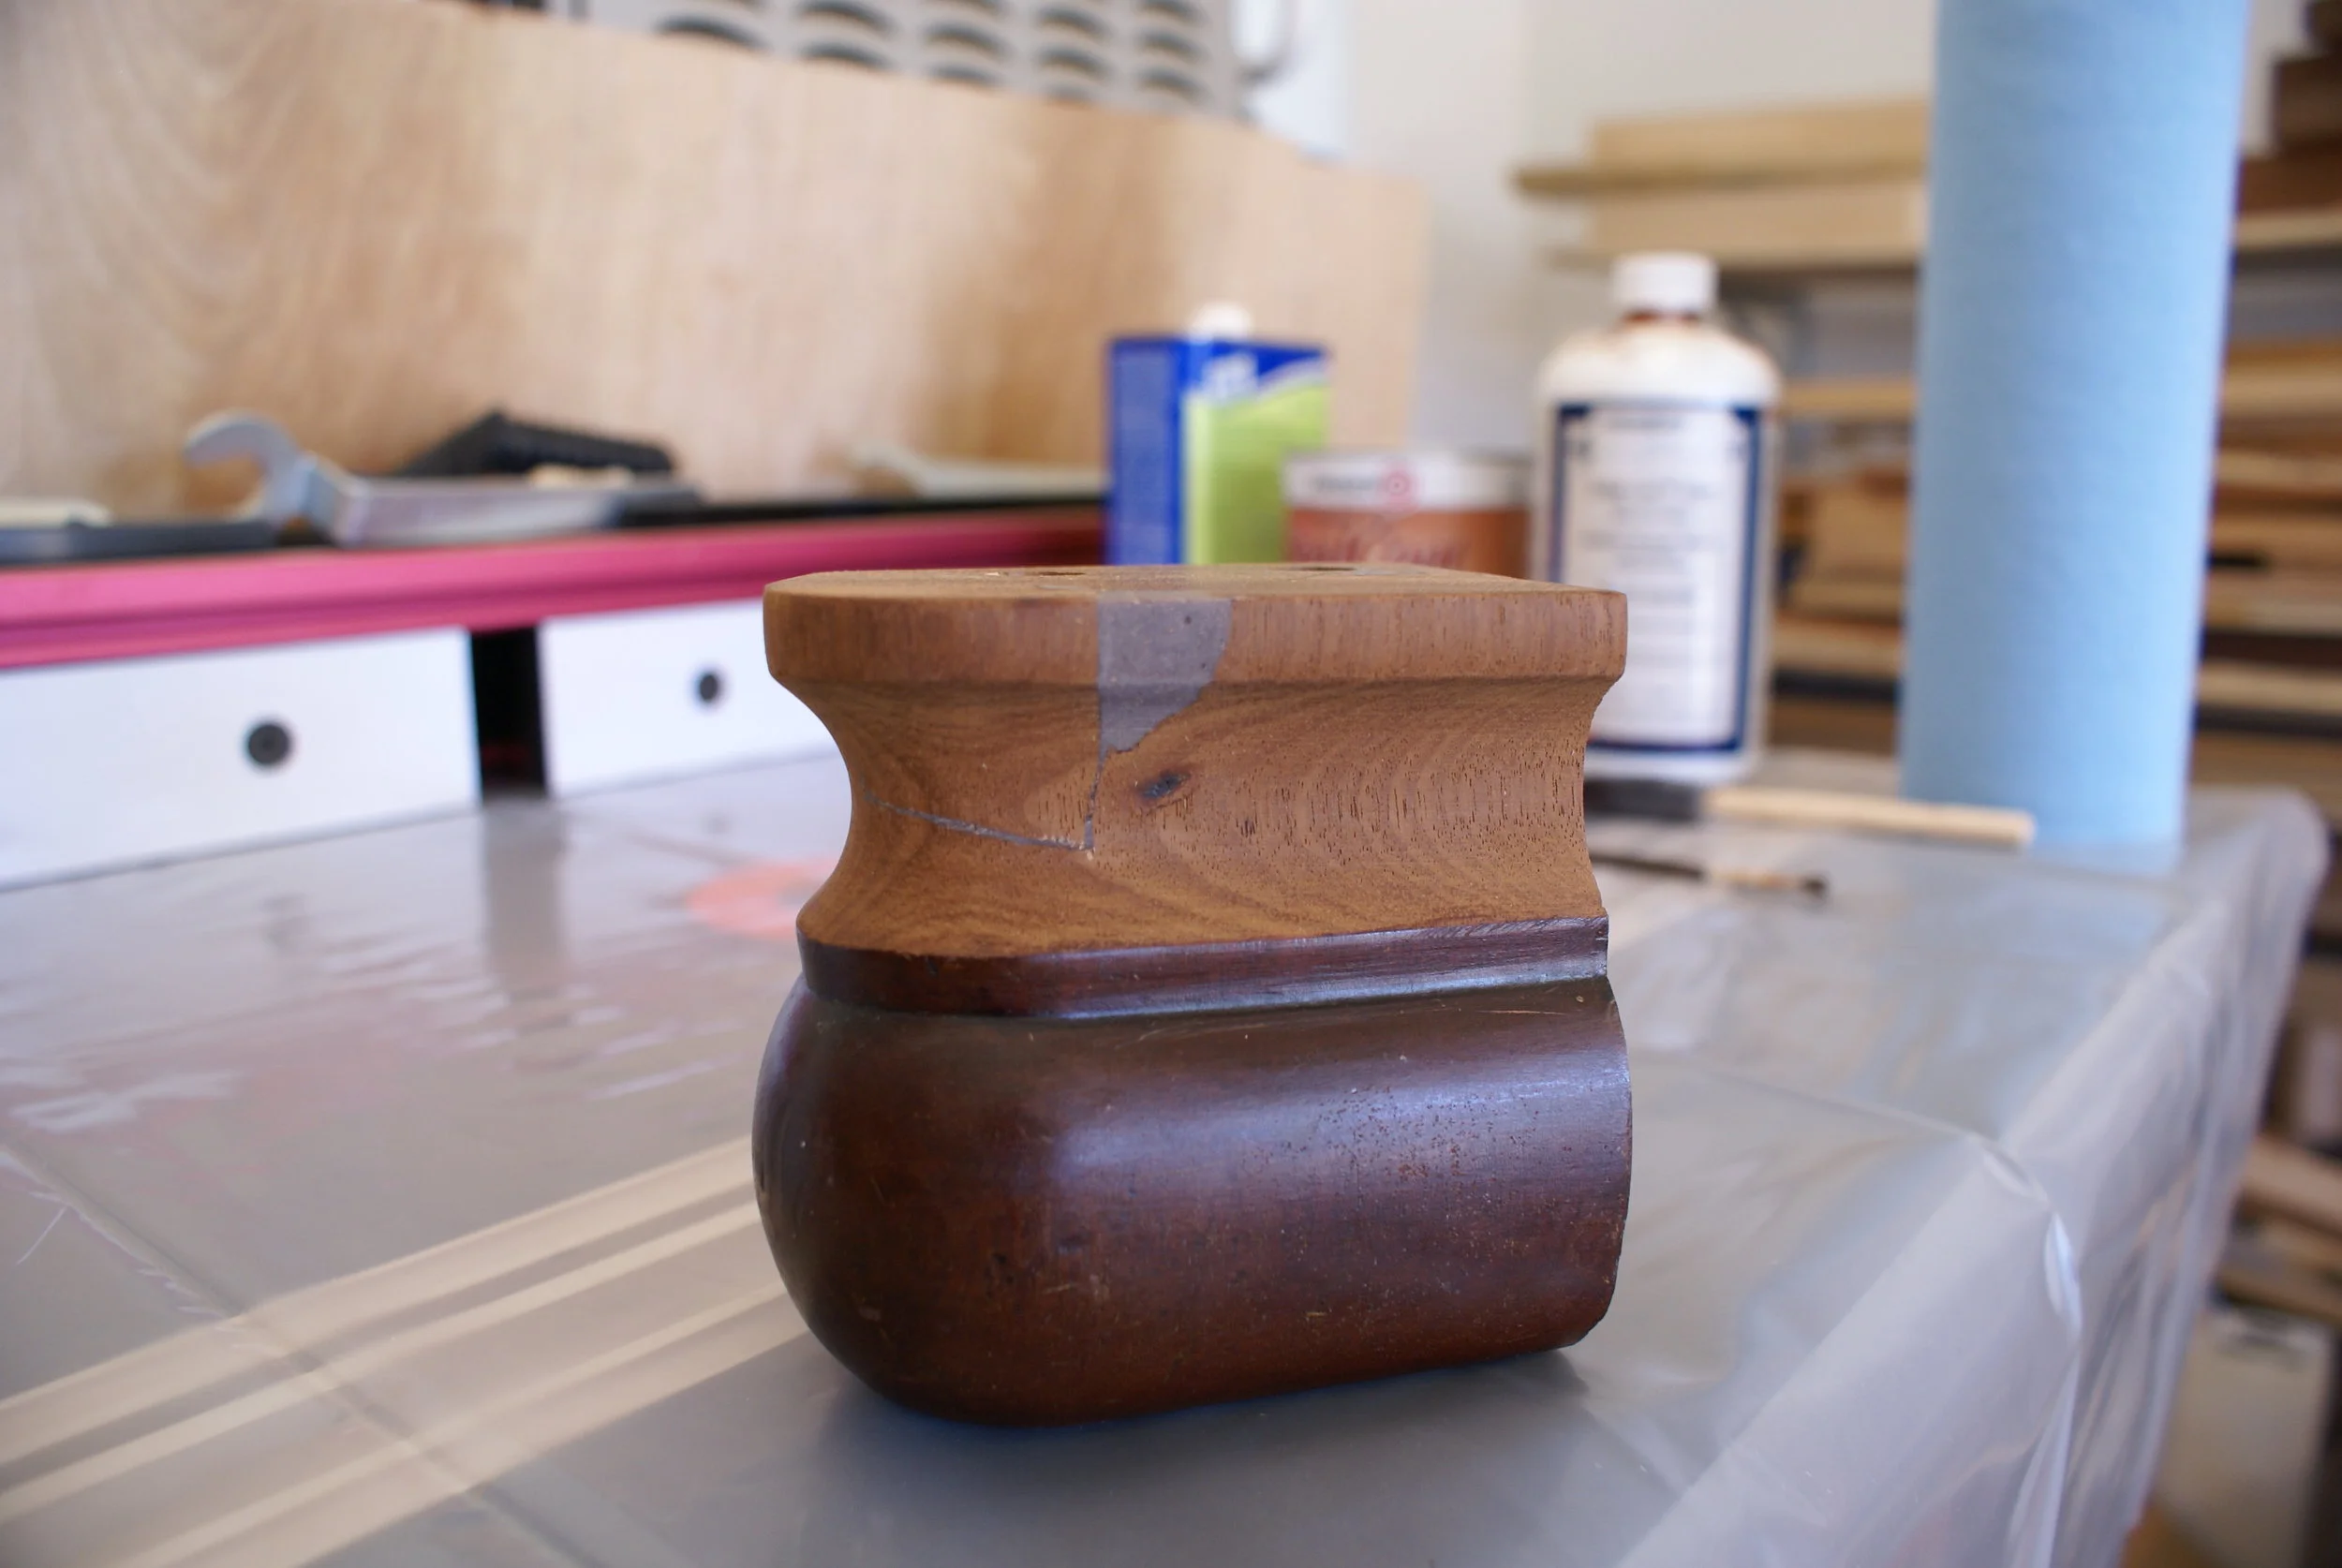
During treatment. The first photo is after removing pine fragments from the frame that were ripped away when it was damaged. I've also removed a lot of the modern adhesives and finish there. Then a very fine rasp is used to just barely skim the surface, taking as little material as possible. Three of the feet needed treatment. The front viewer's right foot attached to the frame was in good condition and it would have damaged the piece to remove it so it was left alone. The pegs had previously been replaced with modern dowels in these feet and needed to be replaced with riven oak pegs.
I reproduced about a dozen pegs for this settee. There was also a repair done to the joinery joining the upper and lower frame that I did not take pictures of that required new riven oak pegs. This is air dried white oak which is appropriate for the period.


During treatment. The tops of the feet were originally finished with shellac. Here I've cleaned up the joint and have test fit the joinery. You can see the new riven oak pegs and the glue block in the rear viewer's left corner. All of the joints needed to be cleaned thoroughly to ensure good adhesion. You can also see all of the frame's joints have come together nicely. The original glue blocks, although they no longer fit well, were preserved and left in place.

Pre-treatment. Original rear feet. Gorilla glue, nails, joinery damage, and damage to the finish.


During treatment. A technique for an epoxy fill is to use a layer of hide glue in between the wood and the fill. That way it is easily reversible in the future. This is West System epoxy with 405 filleting blend filler and Mohawk Blendal powder stain pigments added to it. It is carved to match the profile of the foot after it has cured. If this treatment needs to be reversed in the future water and heat can be applied and it will simply pop out. This is the same technique used above on the end grain plug. The second photo shows that original material would have had to have been removed to fix the damage with a wood plug. The epoxy fill allows you to preserve as much original material as possible.


During treatment. Water based aniline dye. There is a thin layer of shellac underneath the dye.


During treatment. Dewaxed blonde shellac with different pigments added to it to match the color.


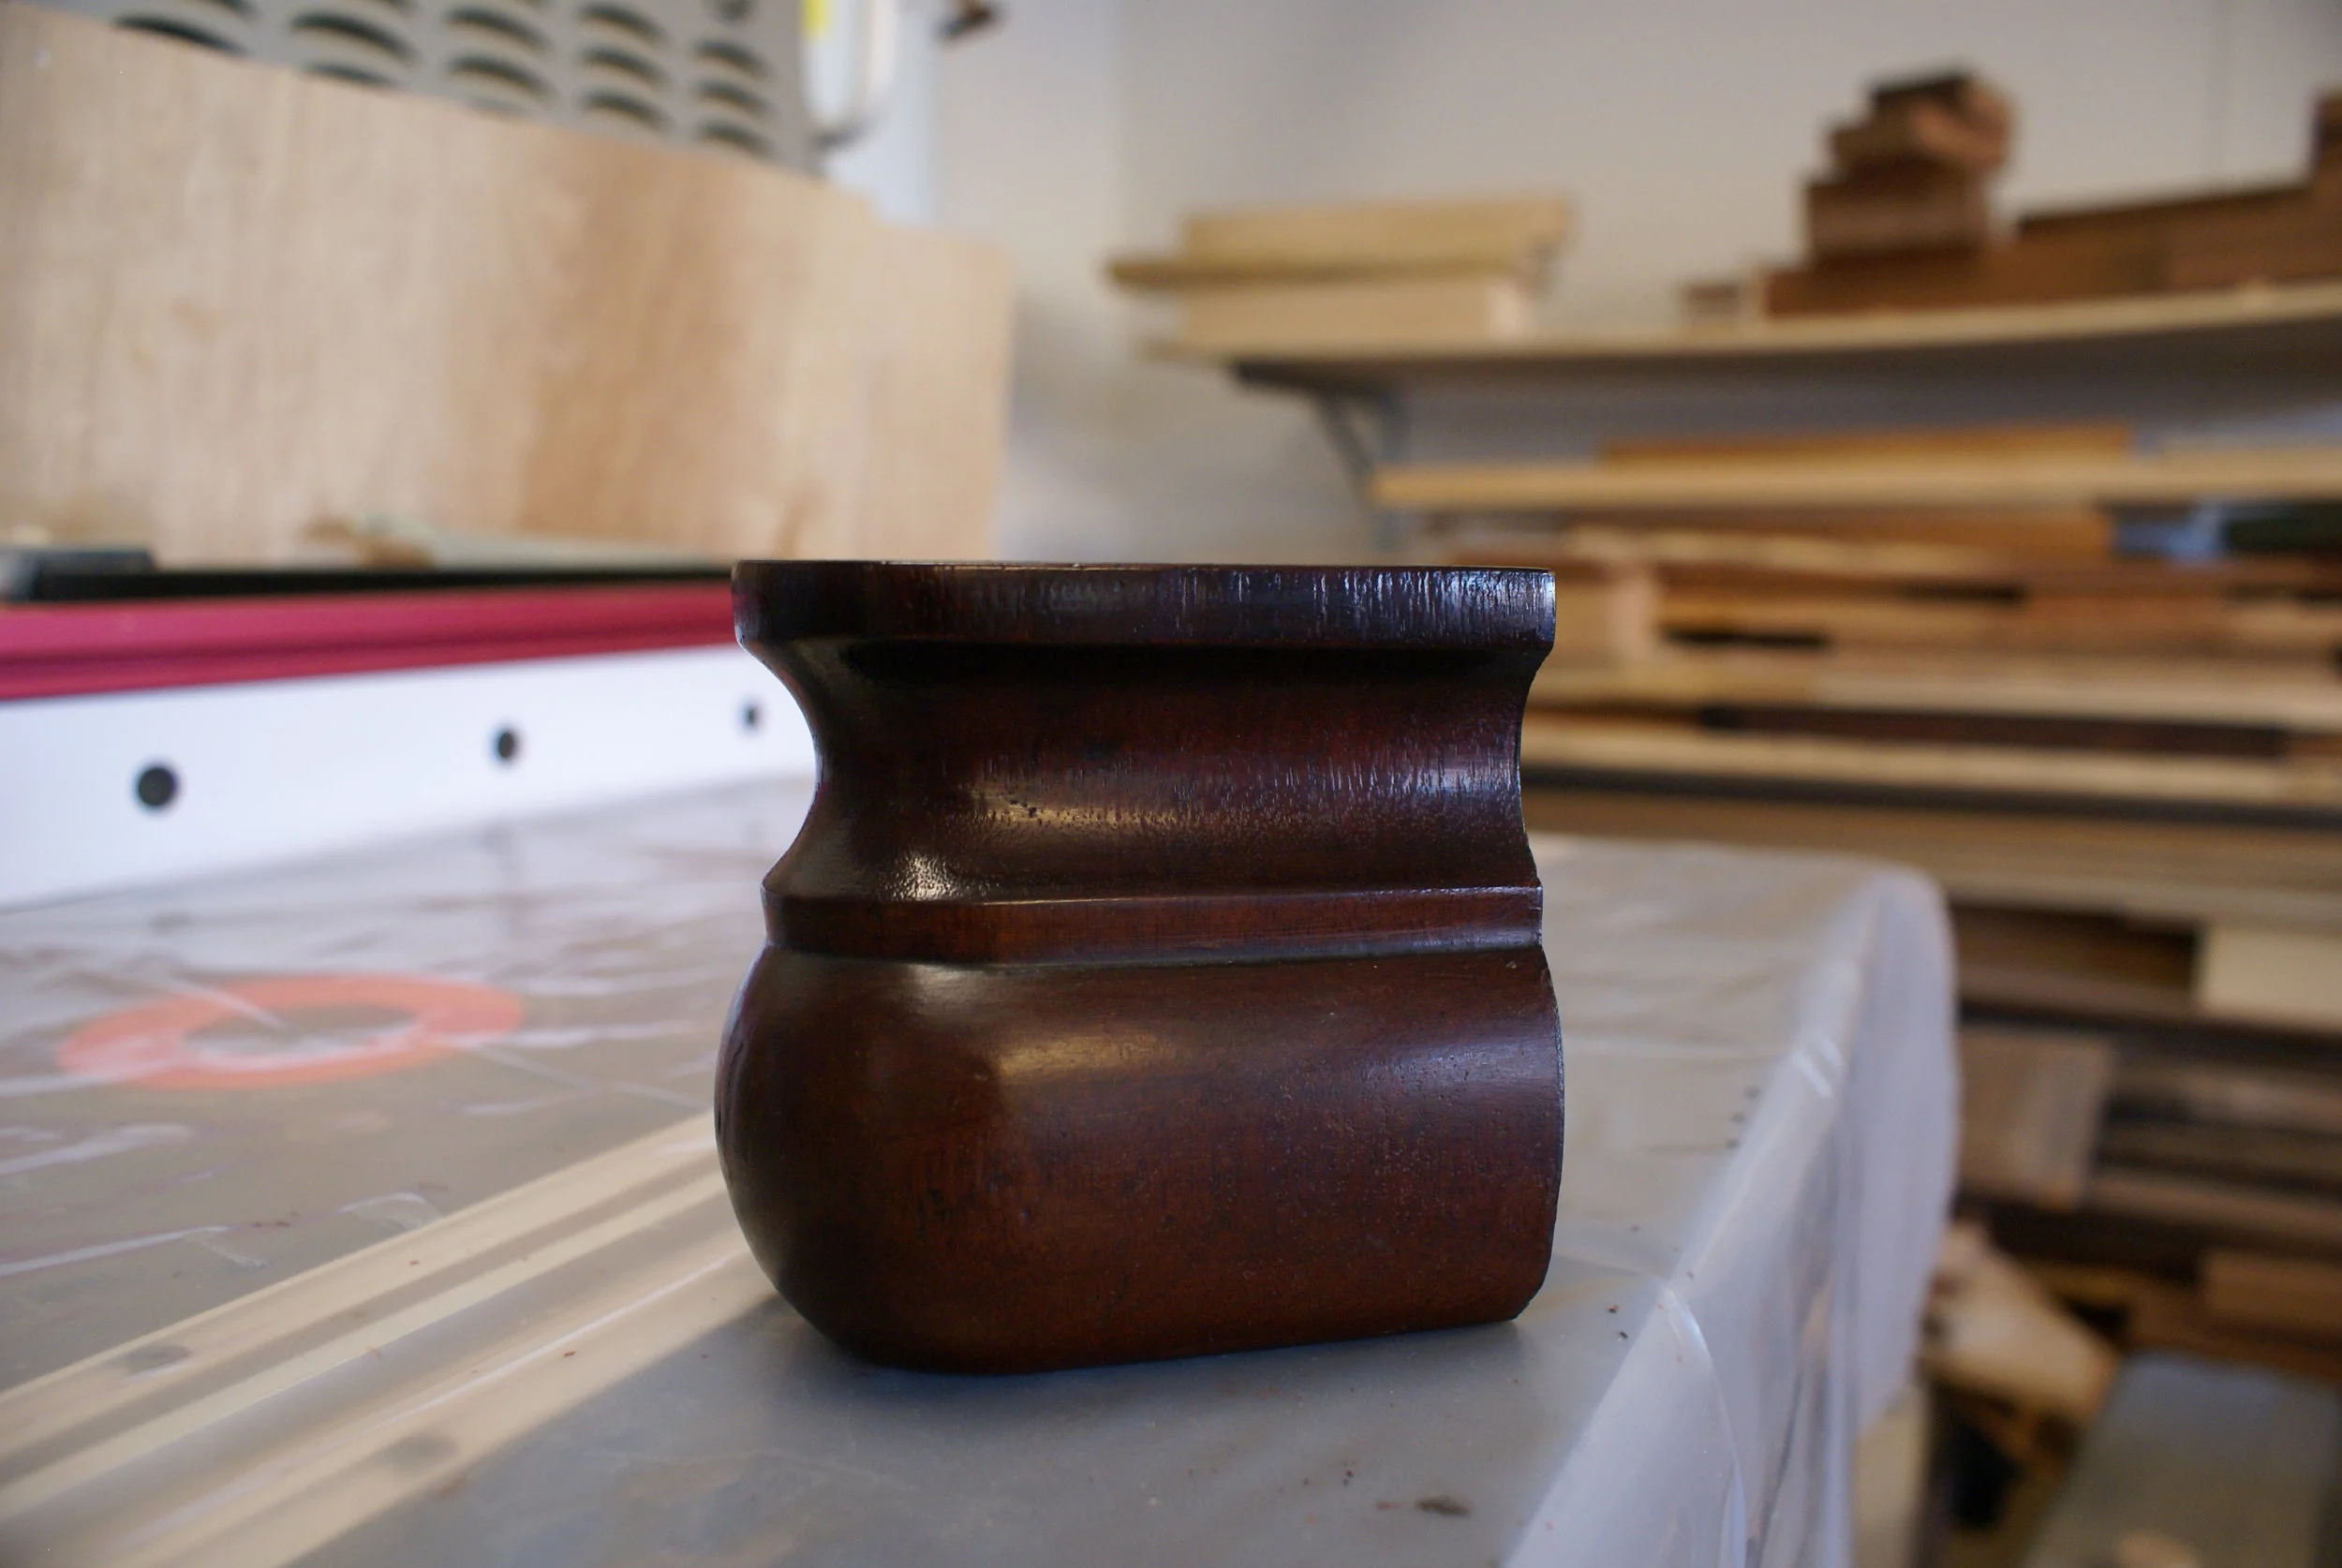
During treatment. More shellac with pigments. I use artist brushes to lay in different colors. The top and bottom of the cove are both almost black on the original feet with the middle fading to a more red than brown hue there than at the bottom of the foot. The top of the lip is also almost black on the original feet. I like to lay the pigments in on top of the shellac in case I need to remove the color. It makes it much easier to adjust the color until you get it right. It also helps to view the job in many different light sources and from many different angles. Once the color is right another coat of shellac goes on to seal it in.


During treatment. Here I've rubbed the shellac with mineral oil and 0000 steel wool to bring the sheen down a bit and smooth the top coat. Always make sure to have some kind of lubricant here so you don't burn or damage the shellac. Mineral spirits also work well but be careful that the spirits don't damage the surrounding finish if it contains wax or oil.
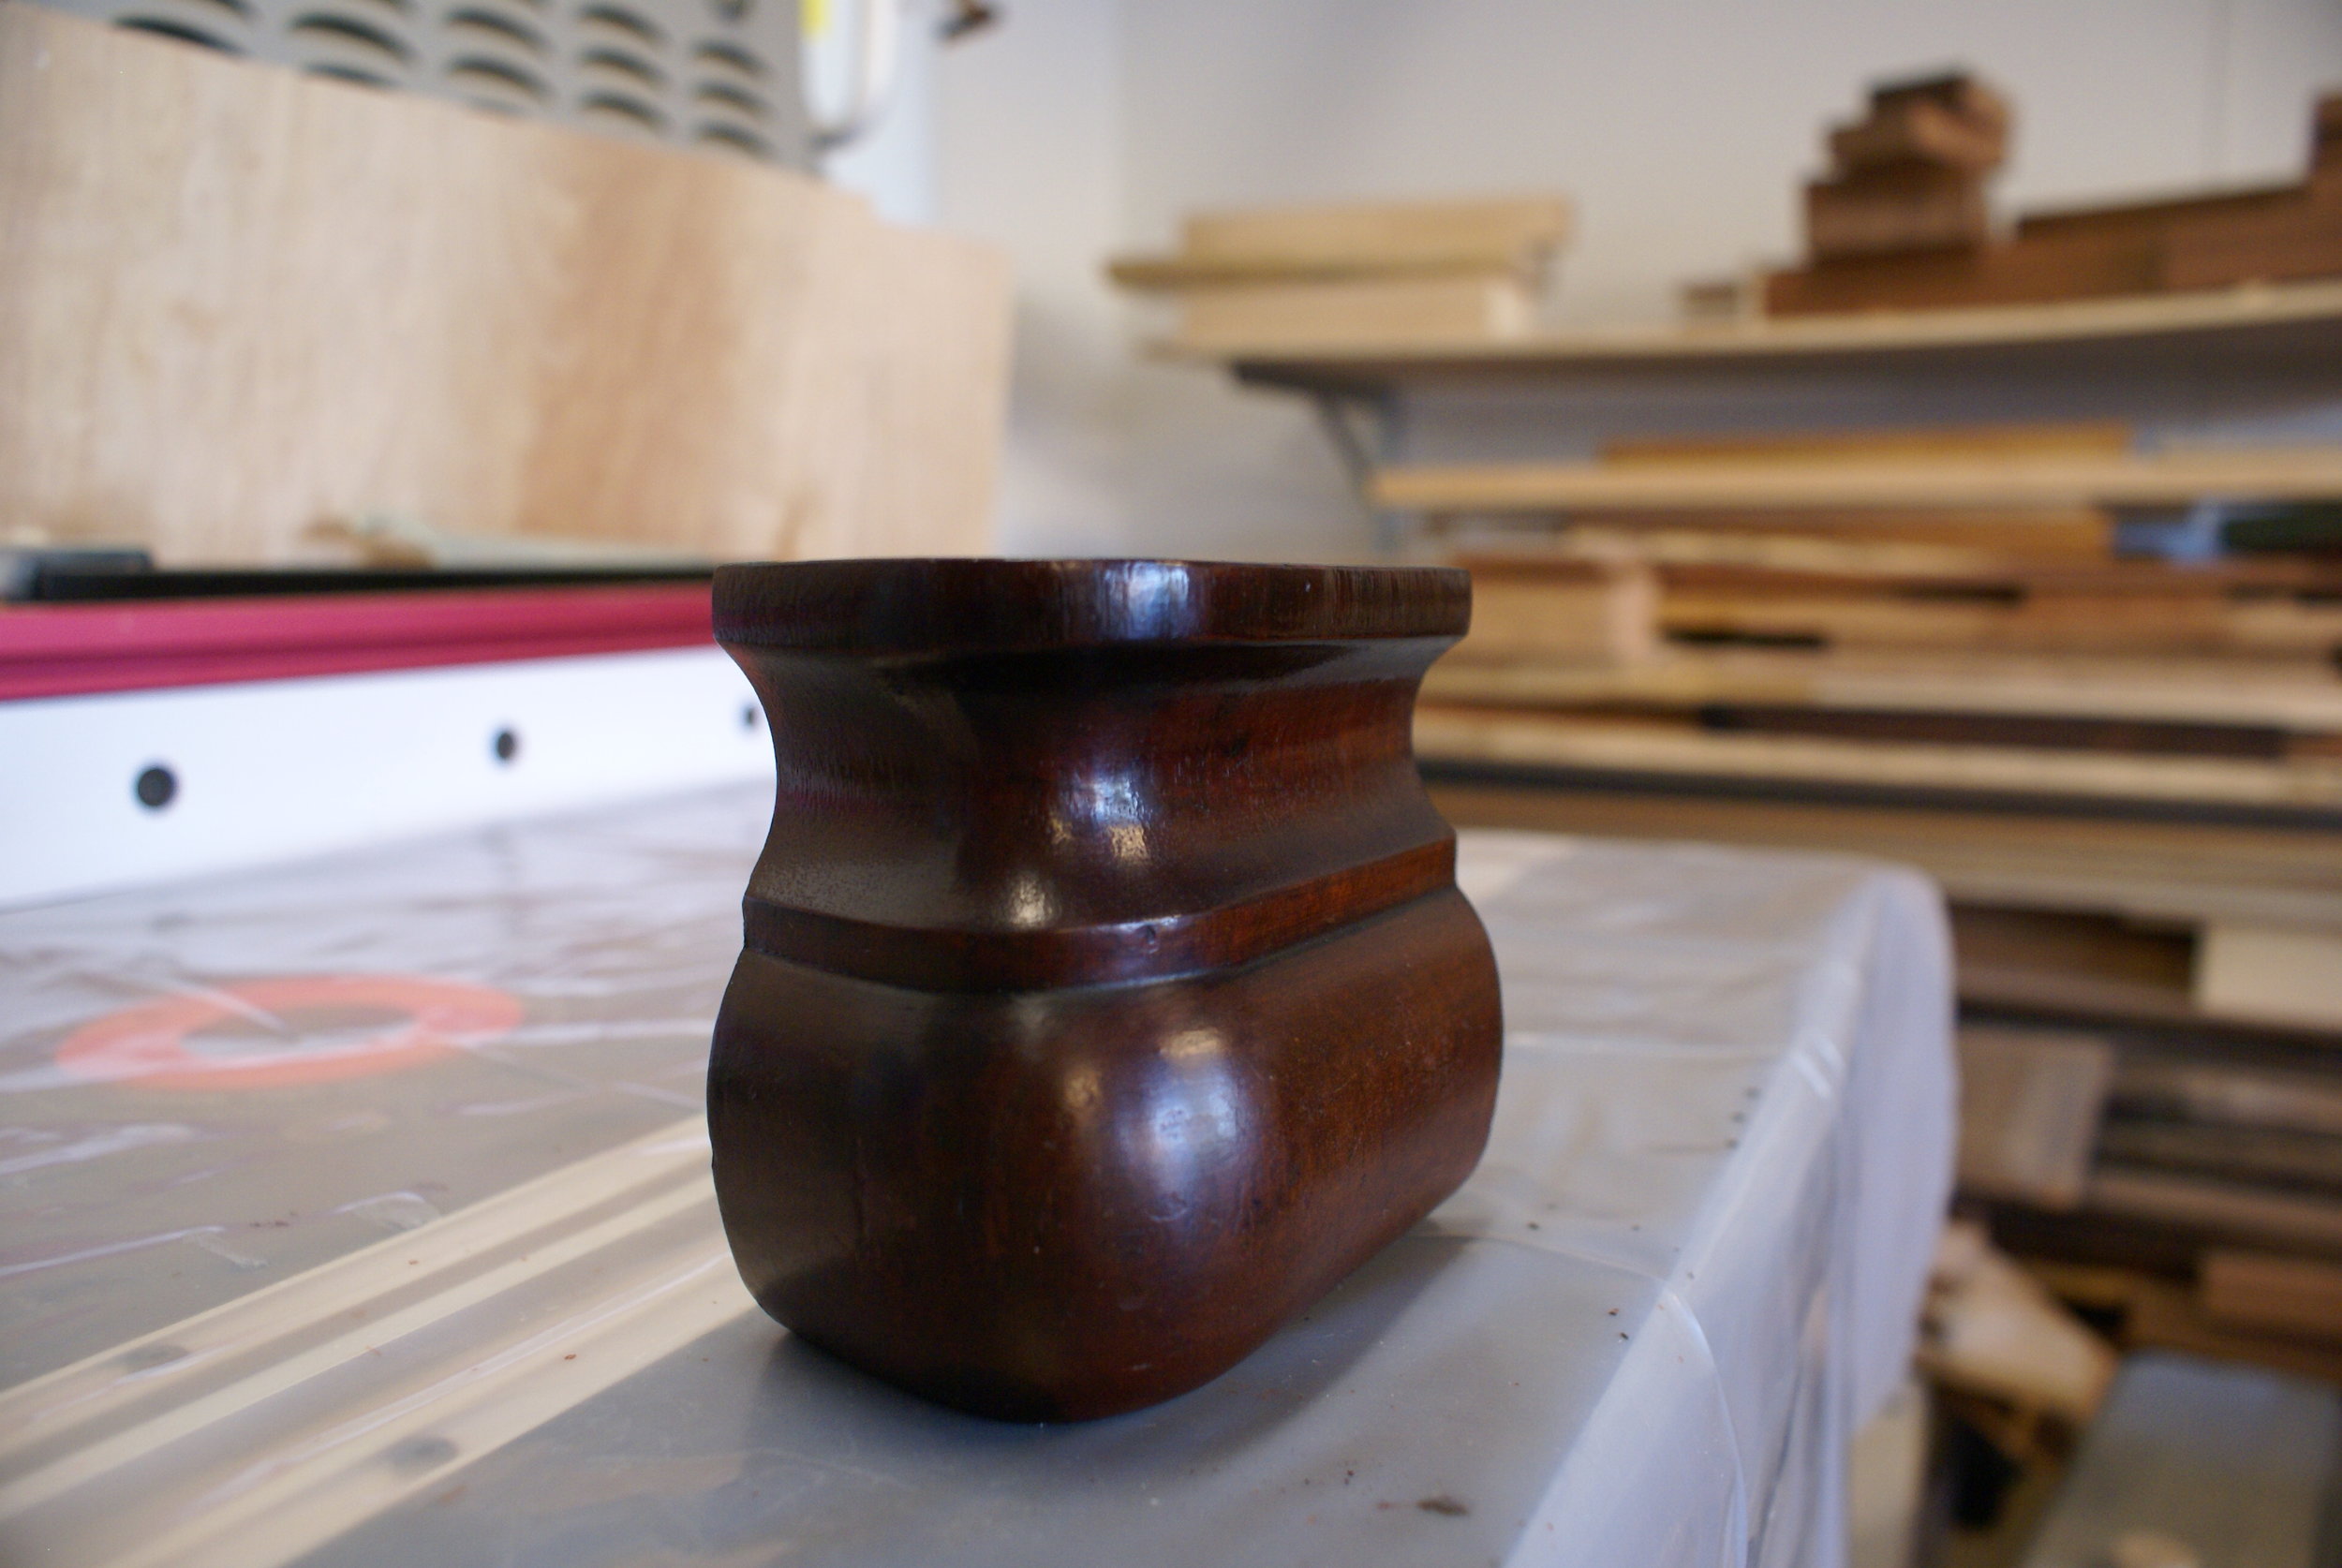
During treatment. After waxing with Renaissance wax and more steel wool to match the sheen.


Pre & post-treatment. Typical damage from paint and scratches. The paint is removed, the color is treated, and then it is shellaced and waxed.


Pre & post-treatment. The entire settee was covered in this type of damage. The second photo is after waxing the frame and feet with Renaissance wax. There were around 60 different spot treatments on the lower frame, including inside the carved shell motif.


Pre & post-treatment. The entire upper frame was also covered in damage like this. There were around fifty different spot treatments including the volutes. It was treated in the same manner as the lower frame.